To produce high-quality hops, pay close attention to insect pests and diseases by field scouting consistently. Field scouting is a key component of Integrated Pest Management (IPM), providing useful information about pests and diseases in hop fields. It is important to distinguish between healthy plants and those experiencing issues, which may be due to pests or other environmental factors.
1. Scouting Procedure
To begin scouting, divide your field into sections based on location, size, and variety. It's best to deal with fields with the same variety, age and spacing. When scouting, walk diagonally across the field and along the edge row to see plants from the section's edge and inner portion. Change your path each time you scout to inspect new areas. Spread out scouting over an entire field but carefully examine known problem areas. Begin inspecting when plants begin to grow and continue every week until harvest.
It is easiest to scout for pests when shoots first emerge and are at eye level; however, it is important to scout hop fields throughout the growing season. When inspecting for insect pests, check the undersides of leaves for live insects and general feeding signs on new plant growth.
2. Proper Pest Identification
It's important to recognize the natural enemies of pests. Many plants and organisms that live in hop fields are beneficial, but accurate information is needed to determine and select appropriate treatment options. Management options for pests can differ; therefore, proper identification is important to select effective treatment options.
If you find a pest you do not know, take photos that can be sent to experts at labs or universities for proper identification. For best results, take a few photos as close as possible with high resolution.
3. Common Pests to Look For
Various pests found in hop fields known to cause damage to the crop include aphids, leafhoppers, beetles, lepidopteran larvae and mites. These harmful invertebrate species can vary depending on your geographical location.

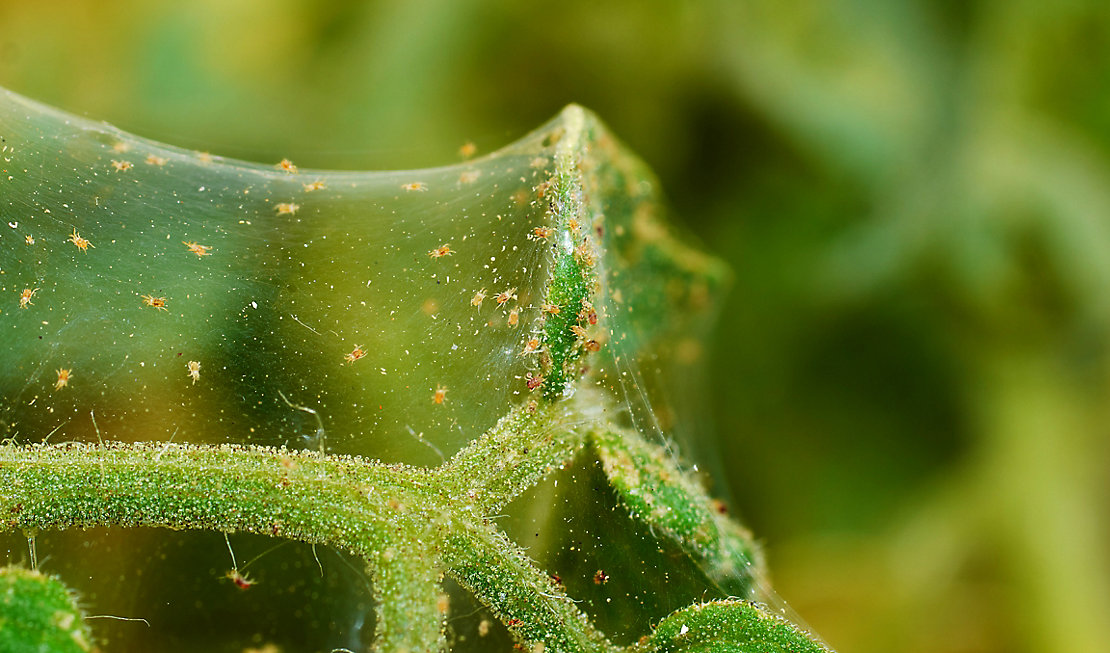
Two-spotted spider mites
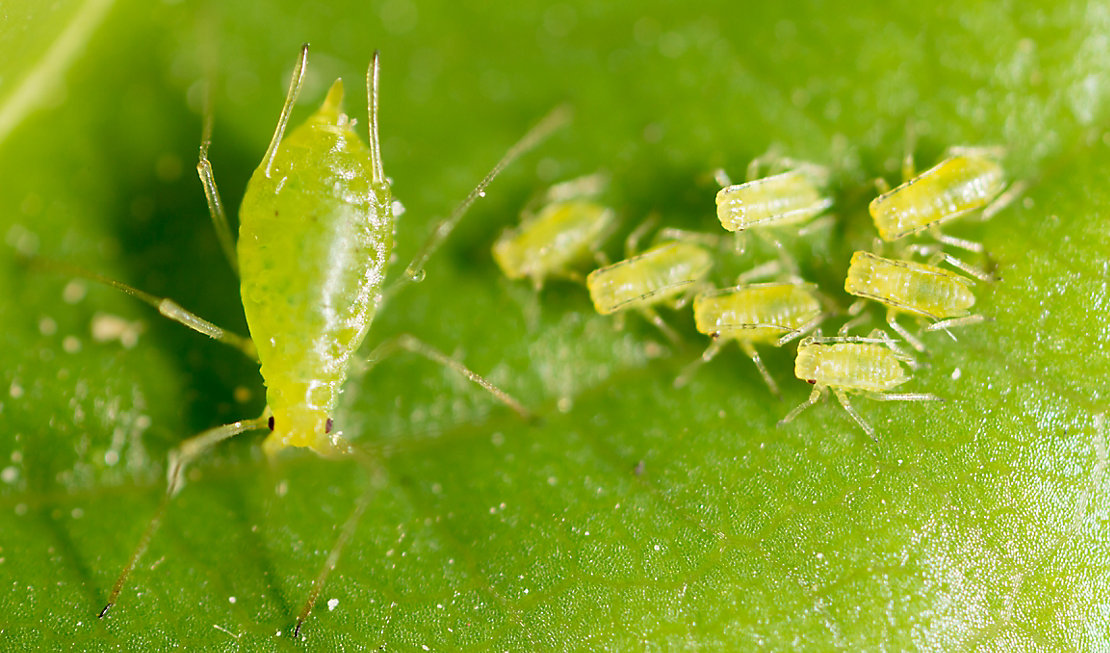
Aphids
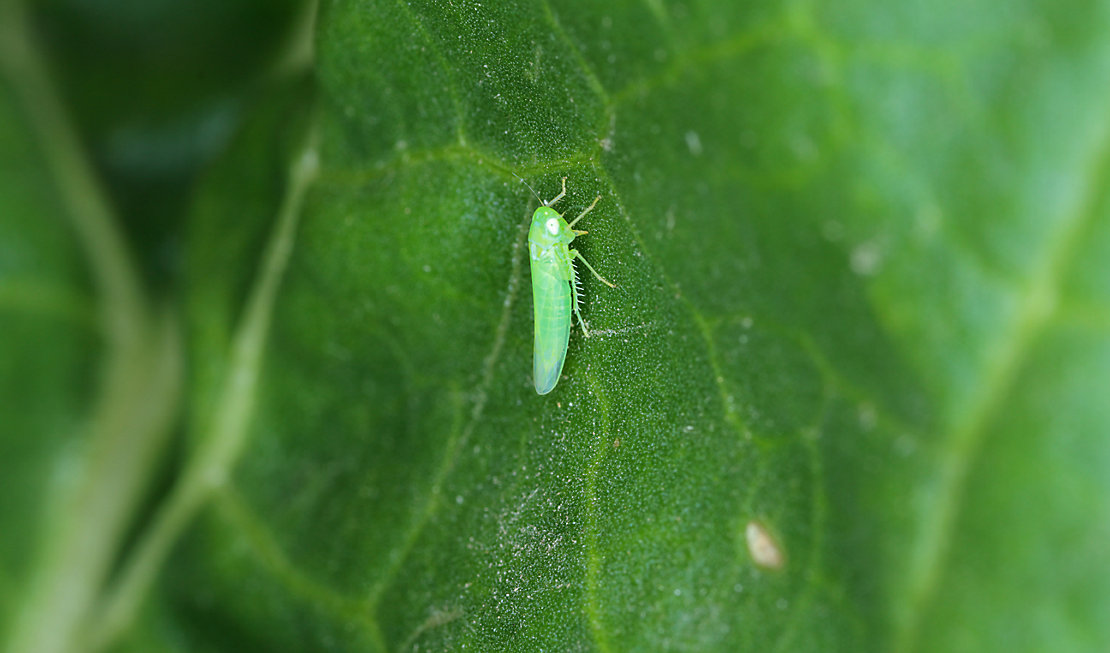
Potato leafhopper
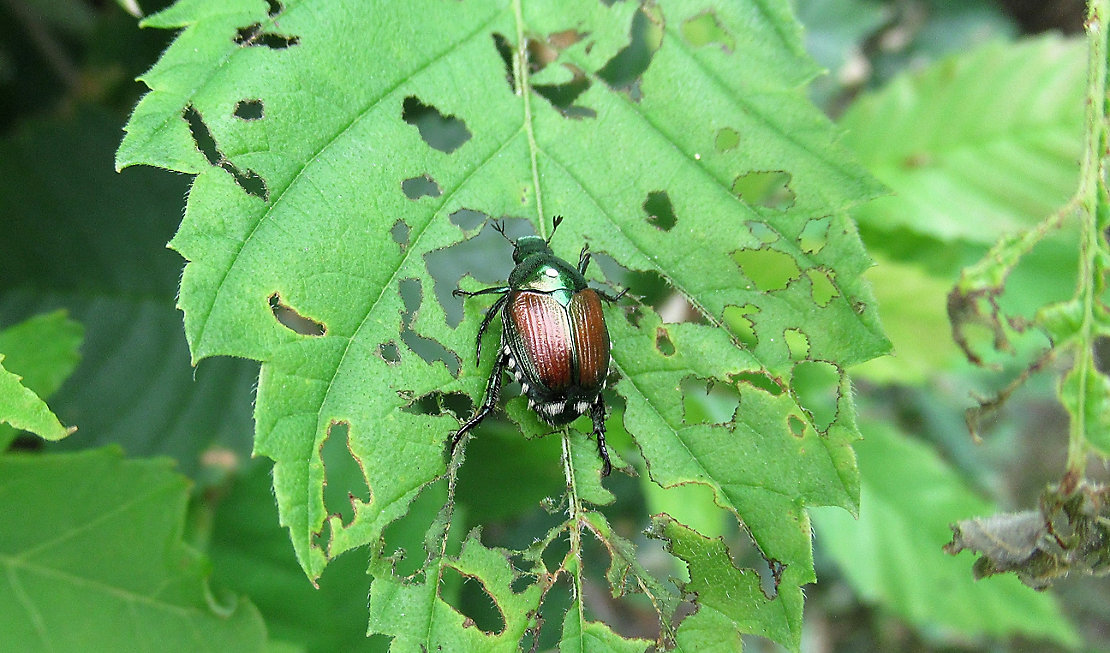
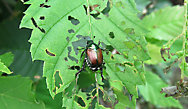
Japanese beetle
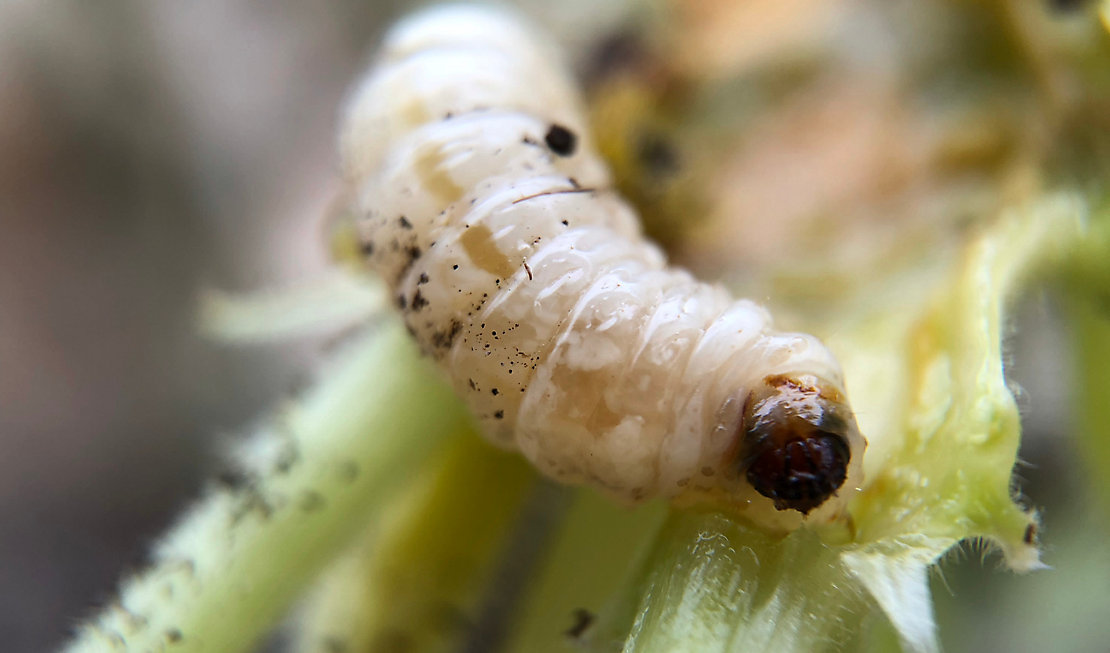
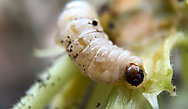
European corn borer
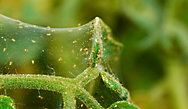

Two-spotted spider mites

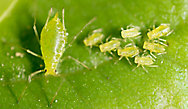
Aphids

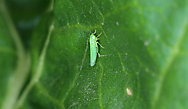
Potato leafhopper

Japanese beetle

European corn borer


Mites
Mites are arachnids, closely related to spiders and ticks, and produce webs for protection, colony establishment, dispersal and mating. The two-spotted spider mite is the most common in hops.1 Mites cause damage to hop plants during feeding, leaving discolored, damaged leaf tissue and, in extreme cases, complete defoliation. Mites can also feed on cones, which results in dry, discolored cones with lower yields.
Aphids
Aphids are commonly found on the underside of leaves or shoot tips, where they are known to pierce plant tissue and extract juices.2 Because of this, plants weaken, and leaves become wilted and discolored. Heavy damage from aphids causes leaves to dry up and fall from the plant. The Damson hop aphid is a primary pest known to cause major damage to hops in the northern hemisphere.3
Leafhoppers
Leafhoppers can multiply quickly and are vectors for many plant diseases. A common sign of leafhoppers, including potato leafhoppers, is hopper burn, which leads to leaf discoloration and curling, often resulting in dead leaves.4 Damage from leafhoppers can reduce yields and overall health of hops.
Beetles
According to the Field Guide for Integrated Pest Management in Hops, a cooperative publication produced by the USDA, many species of beetles are problematic pests in hops, including the California prionus beetle, hop flea beetle, Japanese beetle, root weevils, rose chafer and western spotted cucumber beetle.5 Types of hop damage vary between species, but common signs to look for when scouting are wilting or yellowing bines, shothole damage on leaves, damage on burrs or cones, leaf drop and signs of root damage.
Lepidopteran Larvae
The larvae of many types of butterflies and moths attack hops, including hop looper, bertha armyworm, common gray moth, red admiral, eastern comma, question mark, redbacked cutworm, spotted cutworm, European corn borer, omnivorous leaftier, obliquebanded leafroller, hop vine borer, rustic rosy moth and fall webworm.6 When present in large numbers, lepidopteran larvae (caterpillars) can defoliate hop plants. Lepidopteran larvae are active at night and can be found on the underside of leaves or near the leaf stem during the daytime.
4. Common Diseases to Monitor
Downy mildew and powdery mildew are the two most common and problematic diseases in hop production.
Downy mildew
?$imageGallery$)
Downy mildew
Powdery mildew
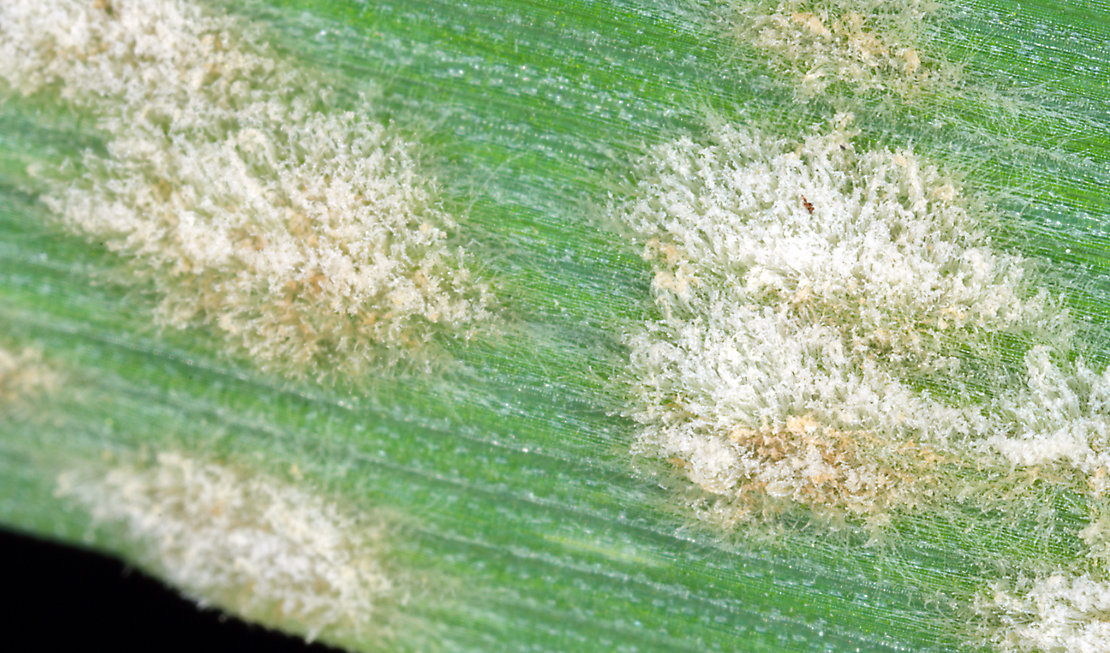
Powdery mildew
?$imageGalleryThumbnail$)

Downy mildew
?$imageGallery$)
Downy mildew

Powdery mildew

Powdery mildew

?$imageGalleryThumbnail$)


Downy Mildew
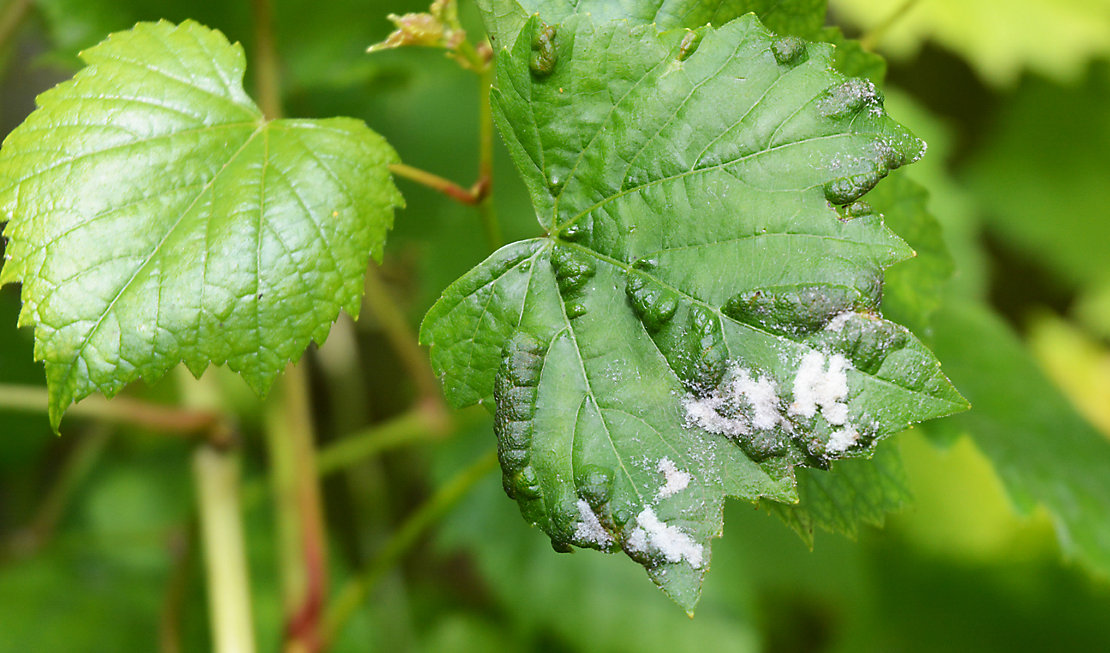
Downy mildew can be identified during the season's early stages by looking for basal spikes on infected emerging shoots. These shoots, growing from infected buds, are stunted and have pale yellow, downward curling leaves. Purple or black spores can also appear on the underside of infected leaves. As new shoots become infected, they may fall off training strings and gradually cause stunted side-arm growth, die-back and discolored cones.7 It should be noted that visible growth of downy mildew may not always be present and should not be solely relied upon to confirm infection.
Powdery Mildew
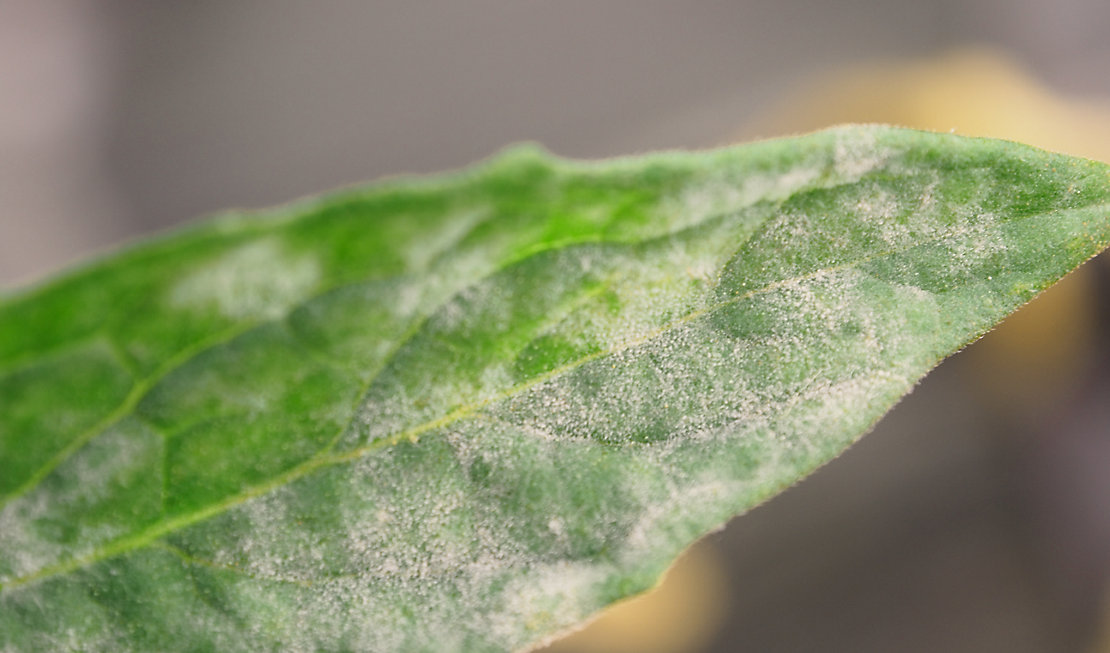
The most common signs of powdery mildew are circular, blister-like powdery white colonies on the leaves, stems or cones of hops. Cones that are affected early in development are smaller and distorted. Detecting powdery mildew in hops affected later in development is more difficult. Infection may only be visible close to harvest when cones have a reddish-brown discoloration and different aroma.8 An article published by the University of Vermont Extension concludes that many powdery mildew symptoms depend on hop variety.
5. Determine Economic Threshold
Economic thresholds vary for each type of pest, while some pests do not have a comprehensive economic threshold. Pest levels and damage are an important part of an IPM program and are used to make pest management decisions. When a pest's economic threshold is reached, control measures are implemented to prevent growing pest populations and further yield loss.9
6. Scout Fields Frequently
Routine field scouting provides an opportunity to identify and address issues before crop damage occurs. Once plants begin to grow, scout fields at least once per week. Scout more frequently when conditions are favorable for pests or damaging pests have been detected.10 After implementing a pest control method, scout three to four days later to determine if the control measure was successful.
7. Maintain Records
Keep scouting records that track the growing environment and life cycle of pests. Record the type of pest(s), level/severity, life cycle (egg, larvae, adult), dates of infection and information about crop damage that has occurred.11 Also, record a description of the growing environment, including temperature, moisture and humidity, as each plays a role in pest development.
Importance of Field Scouting
Scouting fields for pests throughout the growing season helps with management decisions and provides early warnings for potential issues, allowing corrective action to be taken before major losses occur. Regular scouting is key to identifying future changes needed to maximize production.
Subscribe to Our Blog
References
1. https://njaes.rutgers.edu/fs1272/
2. https://www.canr.msu.edu/uploads/234/71503/Hop_aphid.pdf
3. https://www.canr.msu.edu/news/aphids_on_hops_reported_in_significant_numbers
4. https://www.canr.msu.edu/uploads/234/71503/Hop_PotatoLeafHopper.pdf
5. https://www.canr.msu.edu/uploads/234/71503/Hop_Field_Guide_Third_Edition.pdf
6. https://www.canr.msu.edu/uploads/234/71503/Hop_Field_Guide_Third_Edition.pdf
7. https://ohioline.osu.edu/factsheet/plpath-fru-49
8. https://www.uvm.edu/sites/default/files/media/PowderyMildew.pdf
9. https://www.canr.msu.edu/uploads/234/71503/Hop_Field_Guide_Third_Edition.pdf
10. https://www.extension.purdue.edu/extmedia/id/id-462-w.pdf
11. https://www.canr.msu.edu/resources/pest_scouting_in_field_crops_e3294
Six Tips For Building A Successful Pest Scouting Method
Advantages and Applications for IPM Programs
Including Botanical Oil-Based Pesticides in an IPM Program

